I kept staring at my daughter’s plain wall and feeling stuck. Everything else in the room was fine. But the corner by the bed felt forgotten.
I wanted something playful, not fussy. I didn’t want a theme that shouted “kid’s room” too hard.
I learned to work with scale, texture, and a few movable pieces. That’s what I’ll share.
How To Create Butterfly Room Decor Kids Will Love
This shows you how to get a balanced butterfly room that actually feels lived-in. You’ll learn how to pick a simple palette, place focal pieces, and layer kid-friendly textiles. The end result is a calm, playful room that kids want to be in — and parents don’t mind.
What This Solves
Rooms that feel half-done usually have scattered ideas. You can end up with too many small butterfly things that compete for attention. I teach a way to make the butterflies feel intentional and calm.
This method makes a room feel coherent. It gives children tactile elements they can touch and move, while keeping surfaces tidy and simple.
What You’ll Need
- Large removable butterfly wall decals (assorted pastel colors)
- Pastel butterfly throw pillows (18×18 cotton cover)
- Framed butterfly art prints (set of 3, 8×10)
- Sheer white curtains (light-filtering, 84-inch)
- Floating wall shelf (white, 24-inch pine)
- Butterfly fabric hanging mobile (pastel, soft materials)
- Pastel area rug (5×7, low-pile)
- Fabric bunting garland (pastel cotton triangles, 10ft)
Step 1: Anchor the room with one main surface
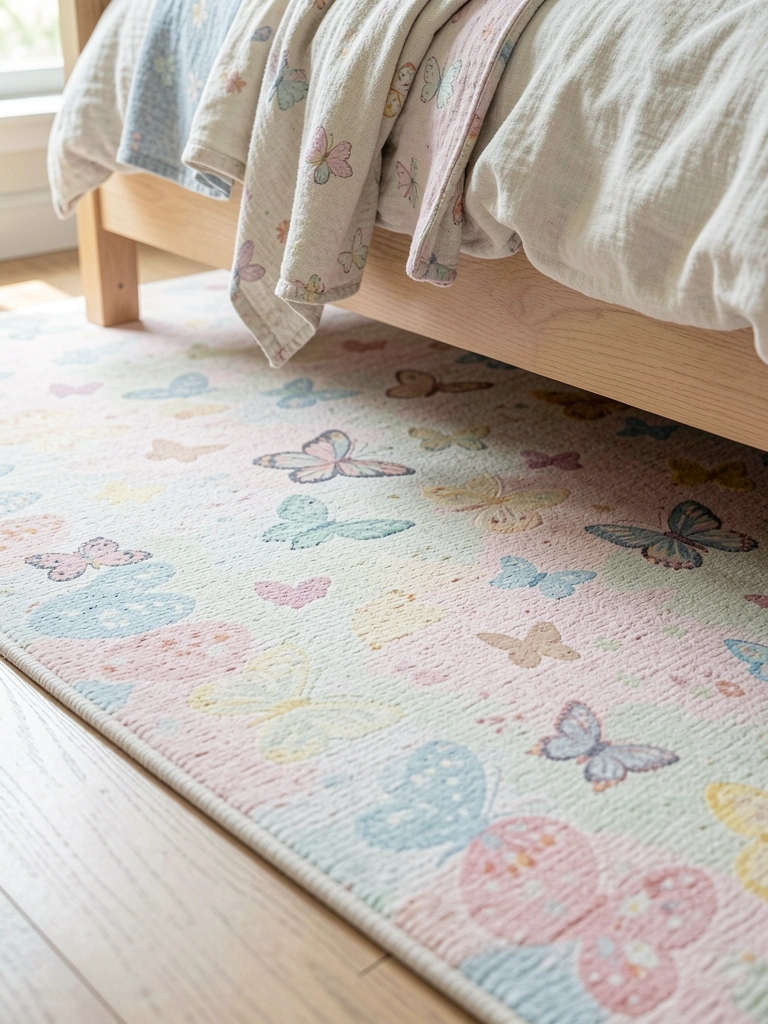
I start by choosing one large surface to hold the palette. For me it was a soft pastel area rug. It grounds the room and keeps the butterflies from feeling like floating stickers.
Visually, the room goes from scattered to calm. The rug becomes the unifying layer that the pillows, decals, and prints all relate to. People often miss picking that single anchor; they try to coordinate everything equally.
Avoid the mistake of matching every item exactly to the rug. Contrast in scale and texture keeps the space interesting, even when the colors are similar.
Step 2: Create a focal wall with decals and art
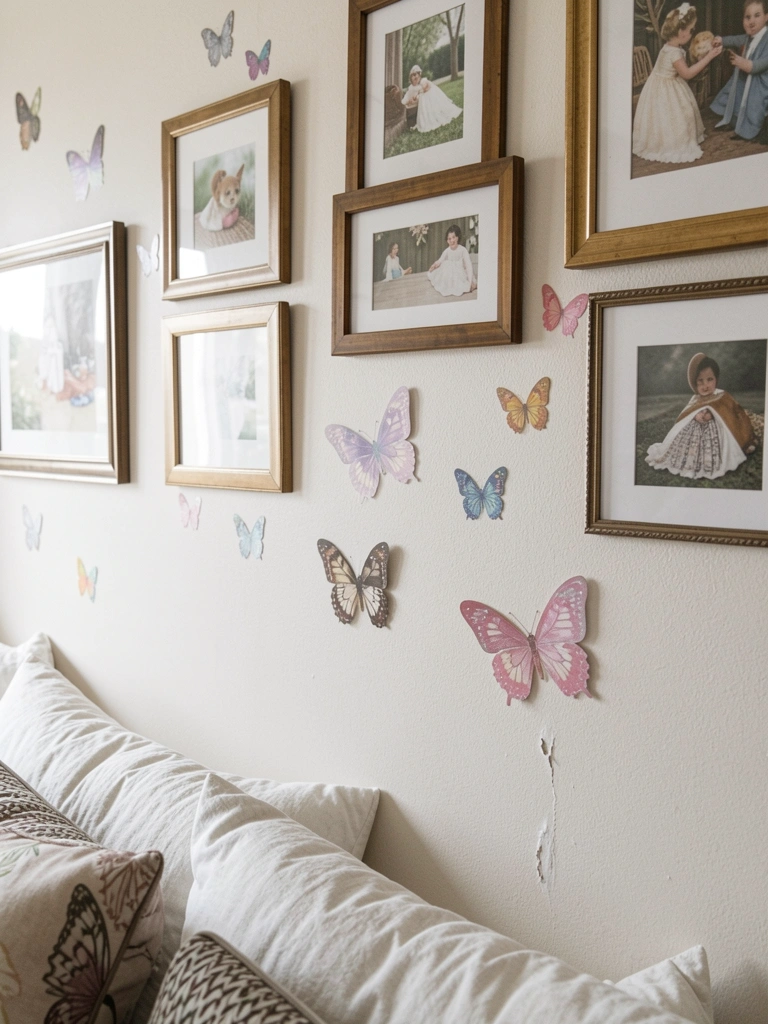
I pick one wall — usually the one behind the bed — and treat it like a simple mural. I use larger decals clustered asymmetrically, then drop in two or three framed prints to give weight.
The wall now reads as intentional and playful. Kids notice the decals first; parents notice the framed art that keeps it tidy. A common insight is to stagger heights rather than line everything up; it feels more natural.
Don’t make the mistake of covering the whole wall. Leave breathing room so the shapes and colors can read clearly from across the room.
Step 3: Layer textiles for touchable warmth
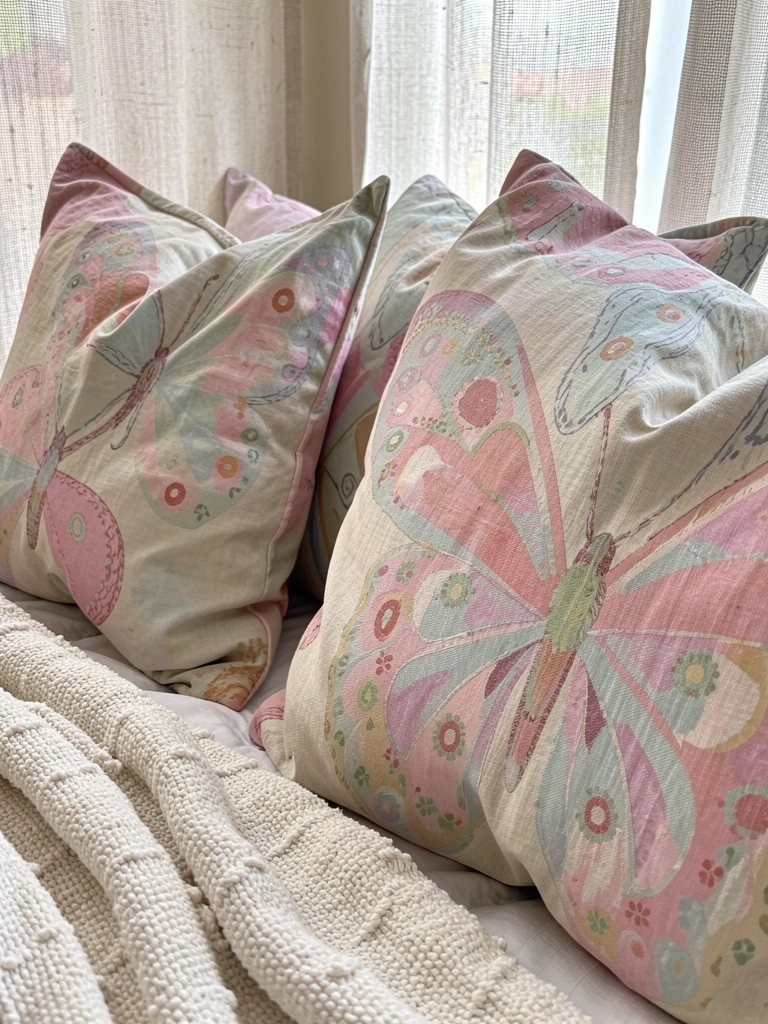
I add pillows, a lightweight throw, and sheer curtains to make the space feel cozy. Textiles invite touch and soften the room’s lines. I mix cotton pillows with a knit throw so the butterflies don’t feel flat.
The visual change is immediate: it feels warmer and more comfortable. People often miss texture, focusing only on color. Texture gives depth and keeps the room feeling mature and calm.
A mistake I see is piling too many decorative pillows. Keep a couple for feel and space to move. Kids need room to play on the bed.
Step 4: Add movable, kid-friendly decor
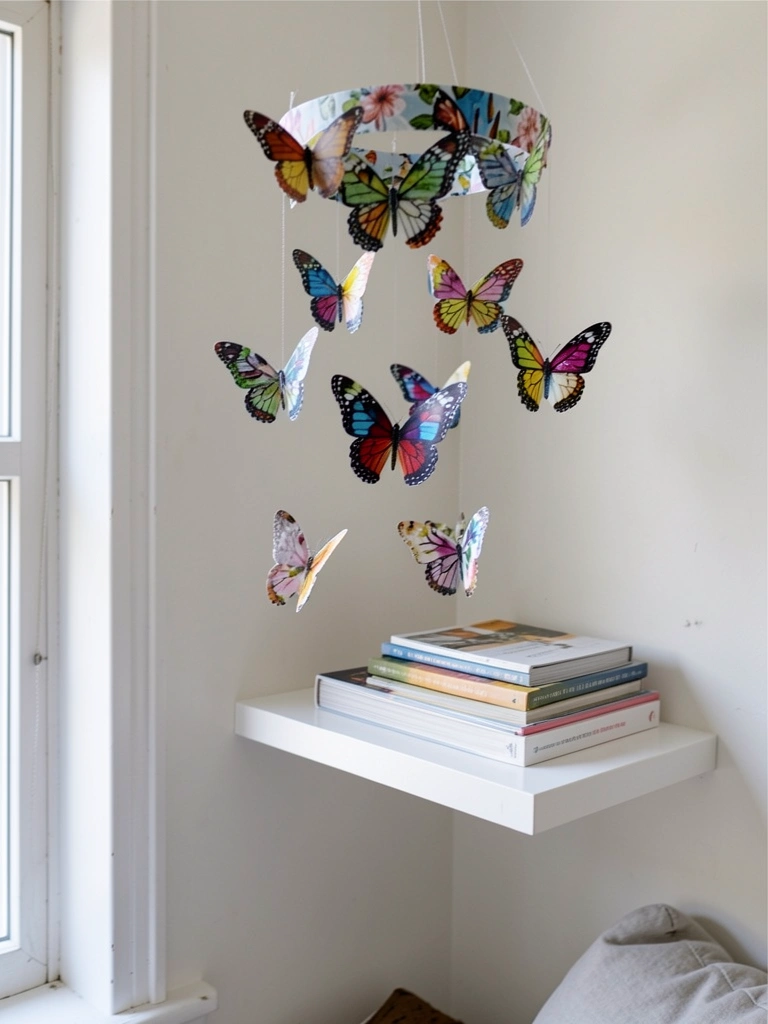
I introduce a hanging mobile and bunting that kids can see and reach (if appropriate). These pieces are tactile and can be moved or rotated when the child wants a change.
Visually, the room gains movement and a playful element without adding clutter. The insight is that kids prefer pieces they can interact with, not fragile knick-knacks behind glass.
Avoid putting delicate decor at child height. Choose soft, washable items for lower shelves and keep breakables up on the floating shelf where they’re out of reach.
Step 5: Balance display and storage so it stays lived-in

I finish by arranging a floating shelf with a framed print, a small storage basket, and a couple of toys. The shelf keeps the playful items organized and visible without looking messy.
The room now reads as lived-in and intentional. One insight I lean on is to make storage part of the decor — baskets, trays, and a consistent color story make tidying easy.
A common mistake is using open shelves as catch-alls. Limit what’s on display to a few meaningful things and keep the rest stored away.
Placement Tips for Small Rooms
In small rooms, less is more. Pick one wall for the main butterfly treatment and keep other walls simple. Use vertical space: a mobile overhead and a small floating shelf can add interest without crowding the floor.
Mirrors or light curtains help keep the palette airy. Keep larger pieces like rugs and curtains light in tone so the butterflies remain the cheerful accent.
- Cluster items instead of spreading them out.
- Keep walking paths clear.
Kid-Friendly Considerations
Make sure items are washable or wipeable where possible. Soft mobiles and fabric bunting are safe at lower heights; framed art and breakables belong up high. Involve the child in choosing colors or which decals to place — it makes the room feel personal.
Also plan for change. Use removable decals and easily switchable pillows so the room can evolve with them.
Maintenance and Updates
Once the layout works, small swaps keep the room fresh. Rotate art prints seasonally or switch pillow covers. Keep a simple cleaning routine: dust shelves, shake rugs, and launder textiles regularly.
Updating one element — rug, mobile, or bunting — refreshes the whole space without a redo. That small, periodic change keeps the room feeling cared for.
Final Thoughts
Start with one surface and a simple palette. Build around what the child touches and uses. Keep display areas tidy and choose soft, washable pieces.
You don’t need a lot to get a warm, balanced butterfly room. Small, intentional choices make it feel calm and playful at the same time.