I remember staring at the blank wall next to my dining room window. Art pieces I hung looked lopsided. The window dominated, leaving everything else awkward and empty.
I'd tried shelves, but they cluttered the light. Mirrors reflected wrong. It felt off every meal.
You know that pull to make it work without starting over.
How To Style Dining Room Wall Decor With A Window
This method balances the window's light and space. You'll end up with a wall that feels open, layered, and right at home. It's simple once you see the flow.
What You’ll Need
- 24-inch rustic wooden floating shelves
- Set of 8 black gallery picture frames 8×10 inch
- 36×24 inch round rattan mirror
- Pair of matte black wall sconces with Edison bulbs
- Faux olive branch in ceramic vase 12 inch
- Neutral linen art prints set of 4 11×14 inch
- Heavy-duty command hooks large picture hanging
Step 1: Map the Wall's Empty Spots
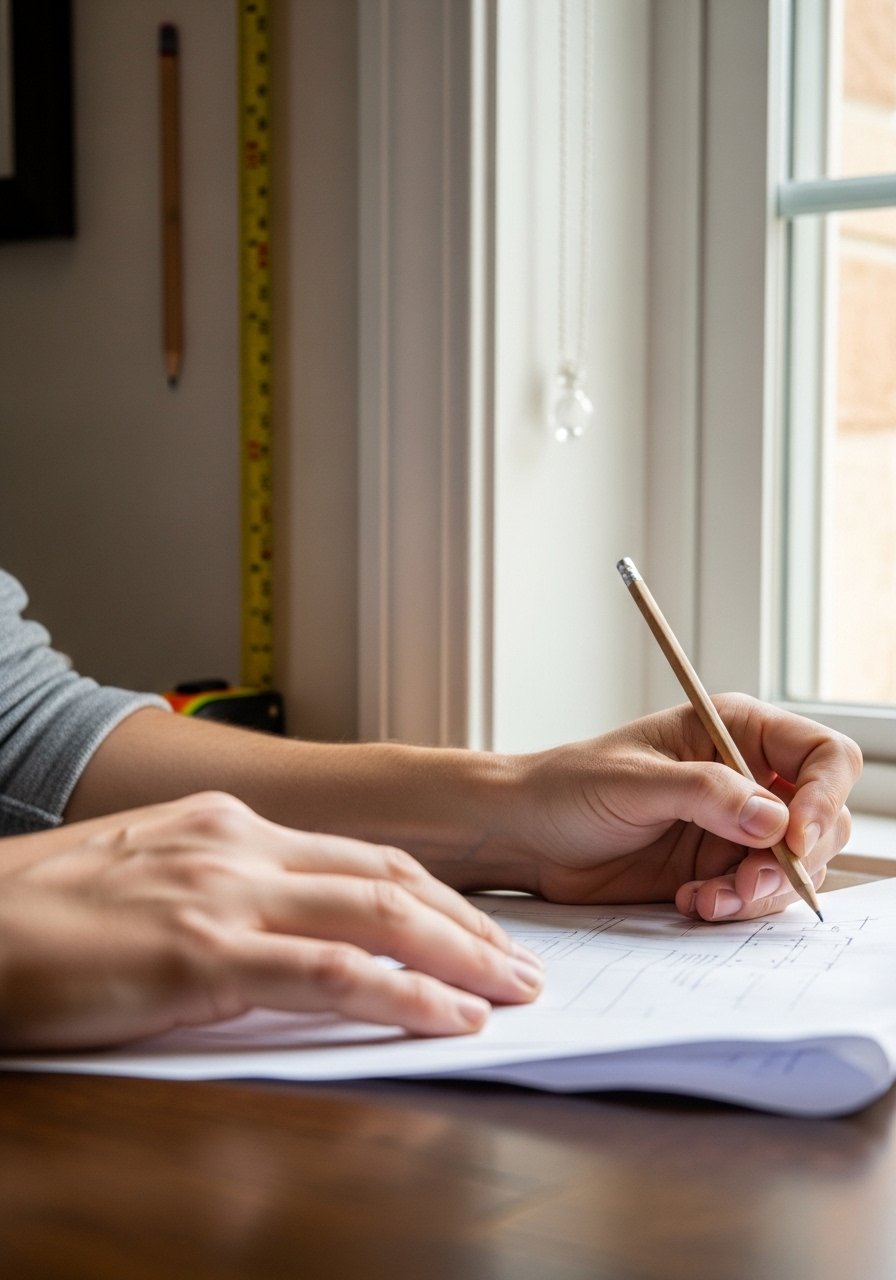
I start by standing back with coffee in hand. The window takes center stage, so I mark spots it leaves bare—usually to the side or above.
This changes the wall from overwhelming to guided. You see where light hits hardest.
People miss how the window's height shifts balance—measure from sill up. Avoid hanging too low; it blocks flow when seated.
I trace a loose layout on paper. Fits everything without guesswork.
Step 2: Anchor with One Large Piece
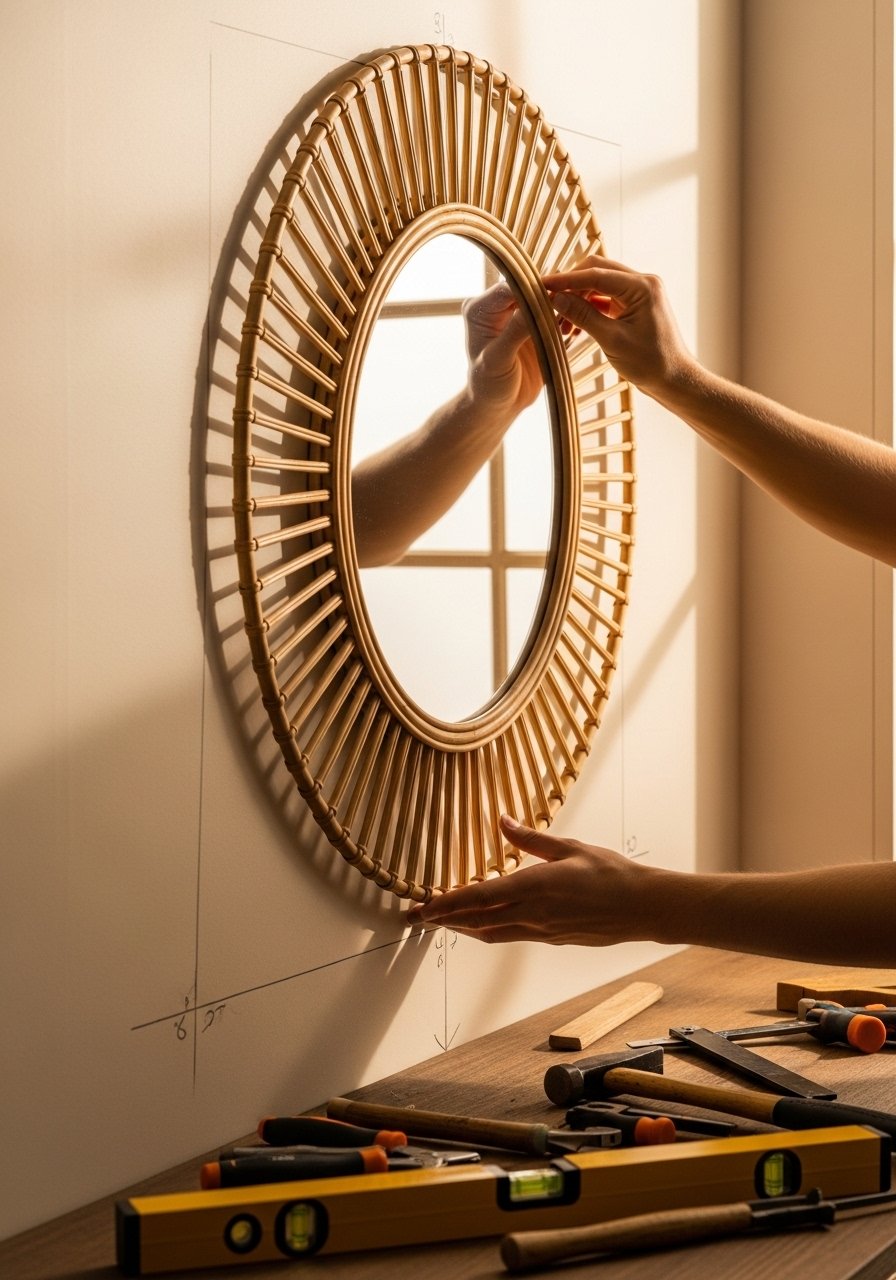
Next, I pick the biggest item—a mirror or shelf—and place it opposite the window's curve. It grounds the space.
Now the wall feels steady, not floating. Light bounces better across the room.
Most skip sizing to window scale; too small gets lost. Don't center perfectly—offset pulls eyes comfortably.
I level it once, step away. Lets the rest build easy.
Step 3: Layer Shelves for Depth
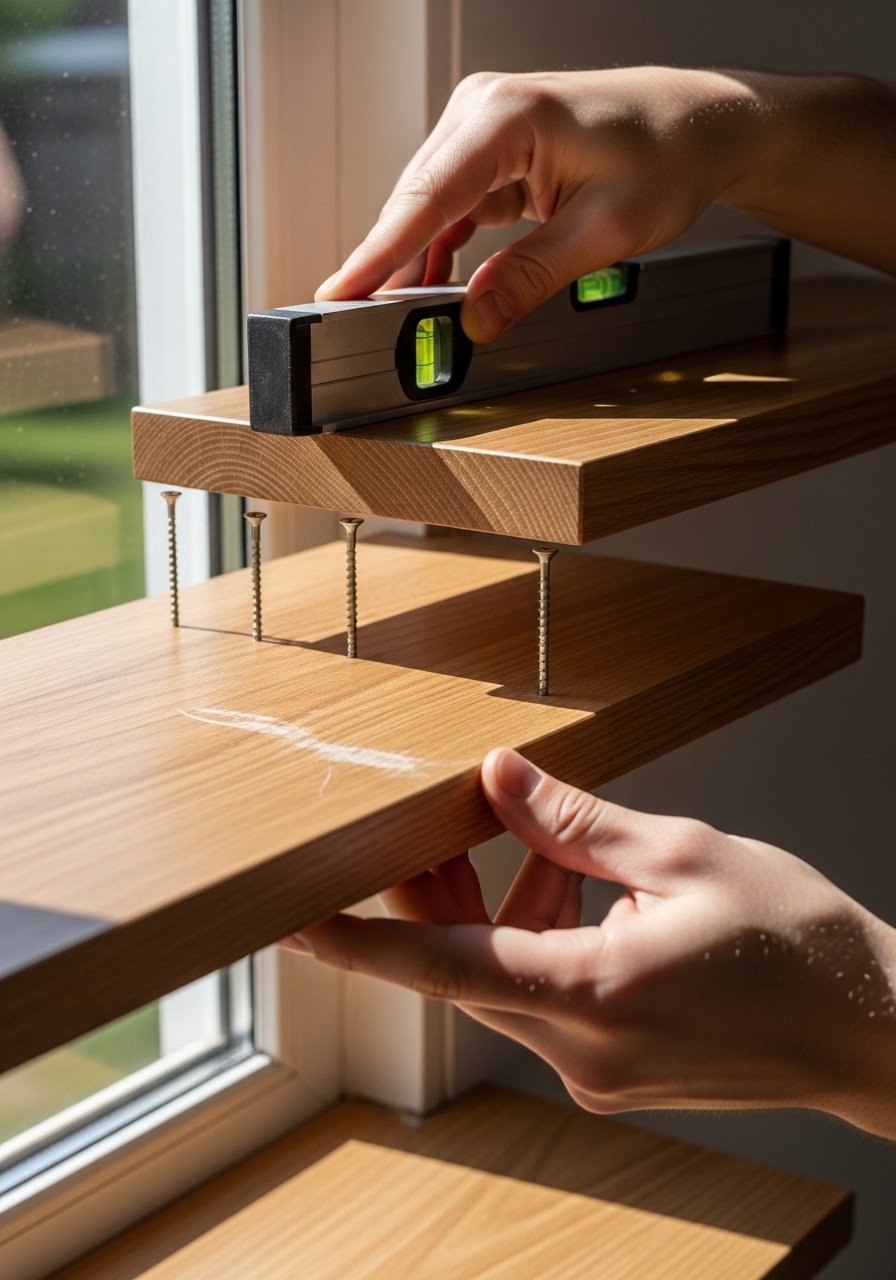
I add two shelves at staggered heights beside the window. Space them to echo the sill line.
The wall gains texture without crowding light. Objects sit natural, catch glances mid-meal.
Folks overload shelves early—start empty. Avoid metal ones; they glare in daylight.
I secure with hooks if renting. Holds through dinners.
Step 4: Fill with Art and Greenery
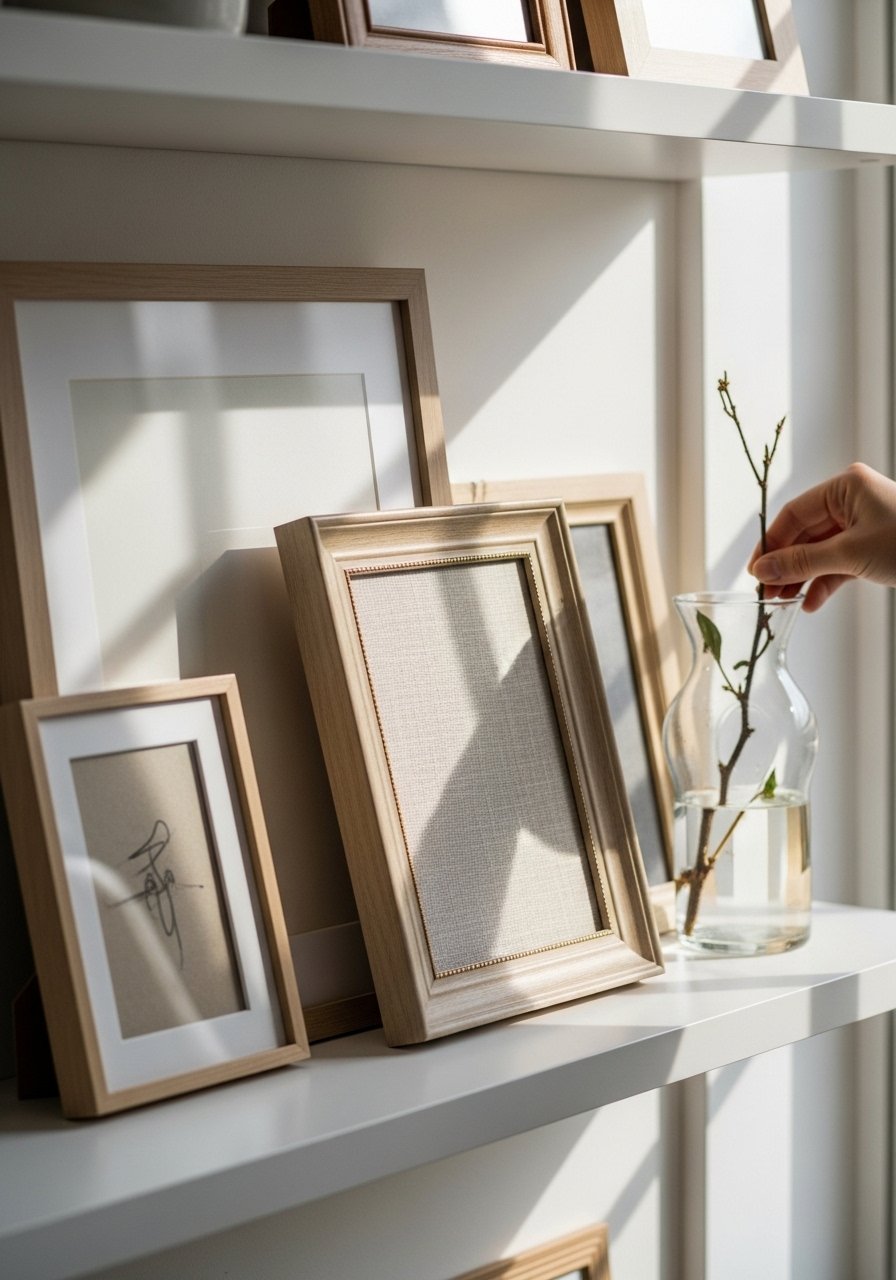
Here, I mix frames and a plant. Lean two prints, tuck vase loosely.
Layers make it lived-in, softens the window's starkness. Feels balanced, not flat.
People match frames too perfectly—vary sizes for rhythm. Don't cluster center; spreads light.
I swap pieces till it settles. Takes minutes.
Step 5: Add Subtle Lighting
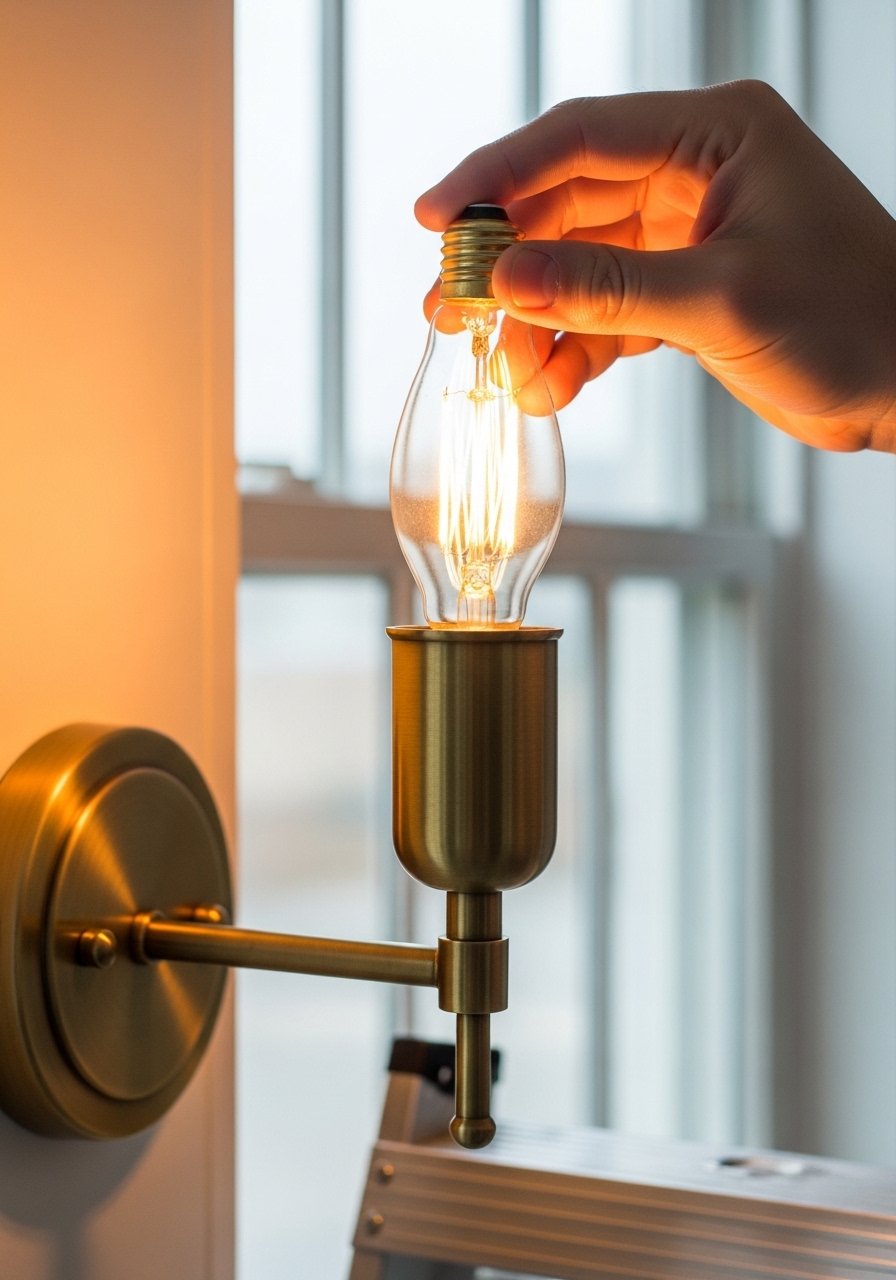
Last, sconces flank the setup. Low wattage bulbs warm evening light.
The wall shifts cozy after dark, complements window glow.
Many pick bright LEDs—too harsh. Avoid pointing direct at glass; reflects odd.
I test at table height. Perfect.
Step 6: Step Back and Tweak
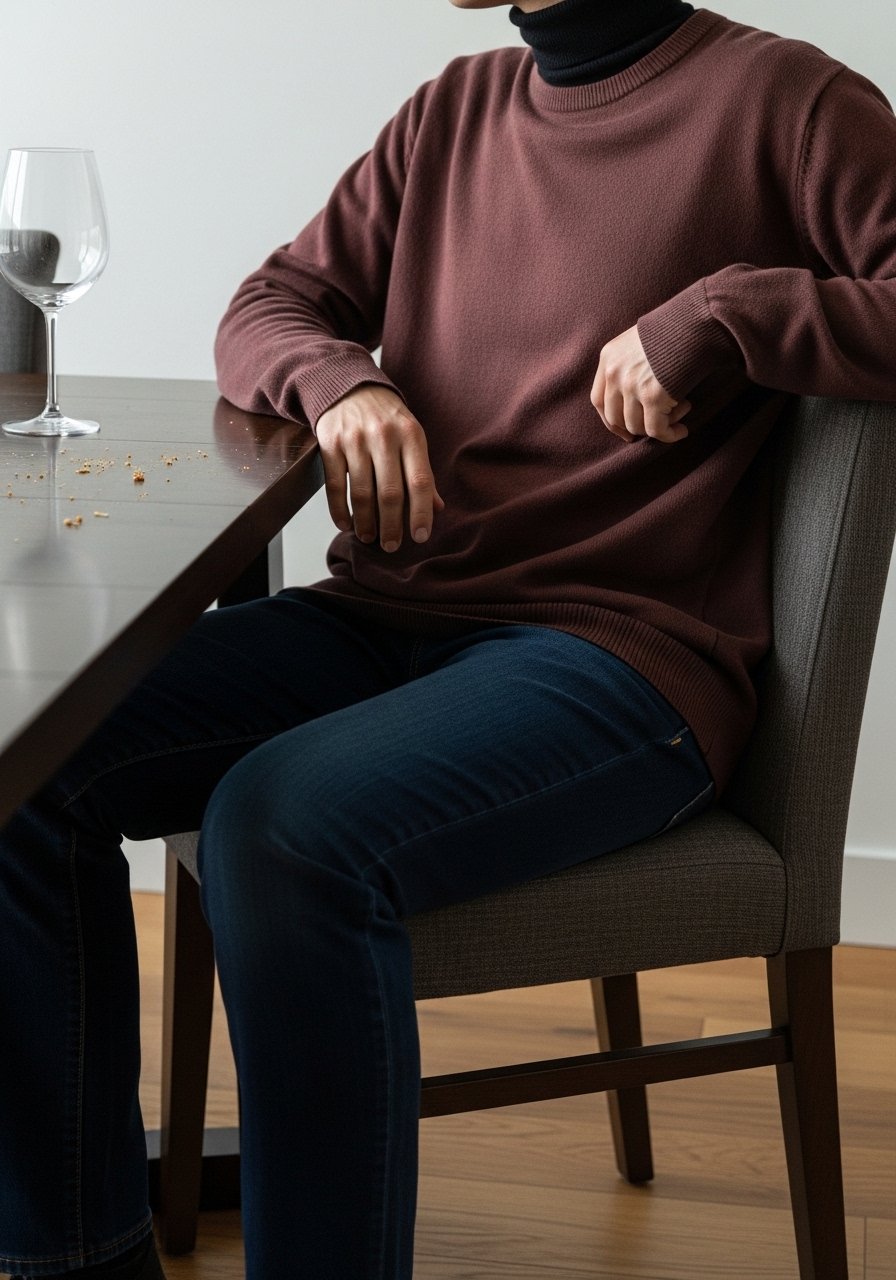
I sit with a meal, scan from seat view. Nudge one item.
Everything clicks—open yet full. No more awkward stares.
Overlook this; looks good standing only. Don't add more; restraint wins.
Done. Wall works daily.
Balancing Light and Shadow
Windows flood one side bright. I lean toward neutrals there.
This keeps meals calm, no glare fights.
- Matte frames cut reflections
- Tall plants diffuse harsh rays
- Sconces even night shadows
I've redone walls ignoring this. Food tastes better balanced.
Matching Your Room's Flow
Dining rooms pull from table style. Wood table? Rustic shelves.
Feels connected, not tacked on.
- Echo chair fabrics in art
- Scale to table length
- Colors from rug or plates
My first try clashed. Now it flows natural.
Quick Updates for Seasons
Twice yearly, I swap prints or branches.
Stays fresh without overhaul.
- Fall: Warm tones, dried grasses
- Spring: Light greens, airy frames
- Use clips for easy change
Small shifts keep it worth seeing.
Final Thoughts
Try one shelf first. See how light plays.
You'll trust your eye more each time.
The wall becomes part of good meals, not a distraction. Simple balance lasts.