I stared at the blank wall above my small dining table. It made the room feel tight, like the walls were closing in. Art never looked right—too big, too crowded, or just floating there.
One day, I stepped back. The issue wasn't the pieces. It was how they sat against the space.
Now, my wall pulls the room together. It breathes.
How To Style Small Dining Room Decor Wall Art
This method shows you how to place wall art so your small dining room feels open and balanced. You'll end up with a wall that frames the table without overwhelming it. It's simple, and it works every time I try it in tight spaces.
What You’ll Need
- Set of three 8×10 inch black metal picture frames
- Neutral abstract art prints, set of 4, 8×10 inches
- 24-inch floating wooden wall shelf, natural oak finish
- Matte black gallery wall ledge, 36 inches long
- Small round rattan mirror, 12-inch diameter
- Brass picture hanging hooks, set of 20, heavy duty
- Soft linen beige placemats, set of 4
Step 1: Clear and Measure the Wall Space
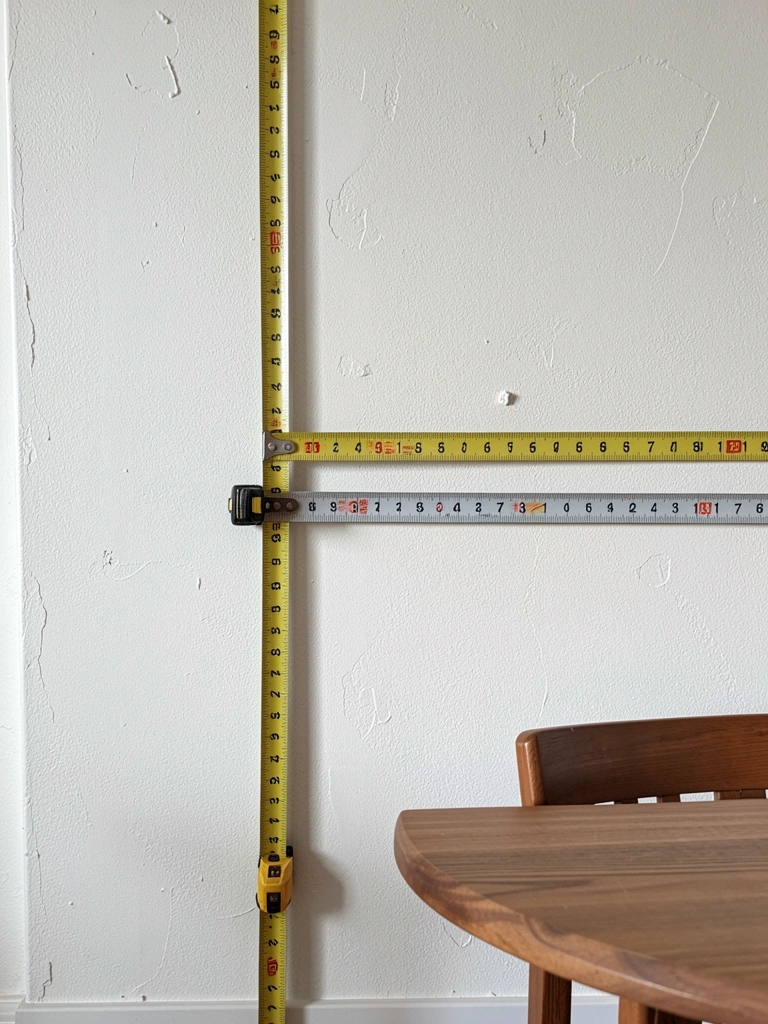
I start by taking everything off the wall. Wipe it down. Then measure from table edge to ceiling—mine was 48 inches high.
This opens up the space visually. The wall feels taller already. People miss how much empty wall shrinks a small room.
Don't hang too high. Keep art starting 6 inches above the table. That keeps it connected to meals.
Now the wall waits, ready.
Step 2: Pick Pieces That Fit the Scale
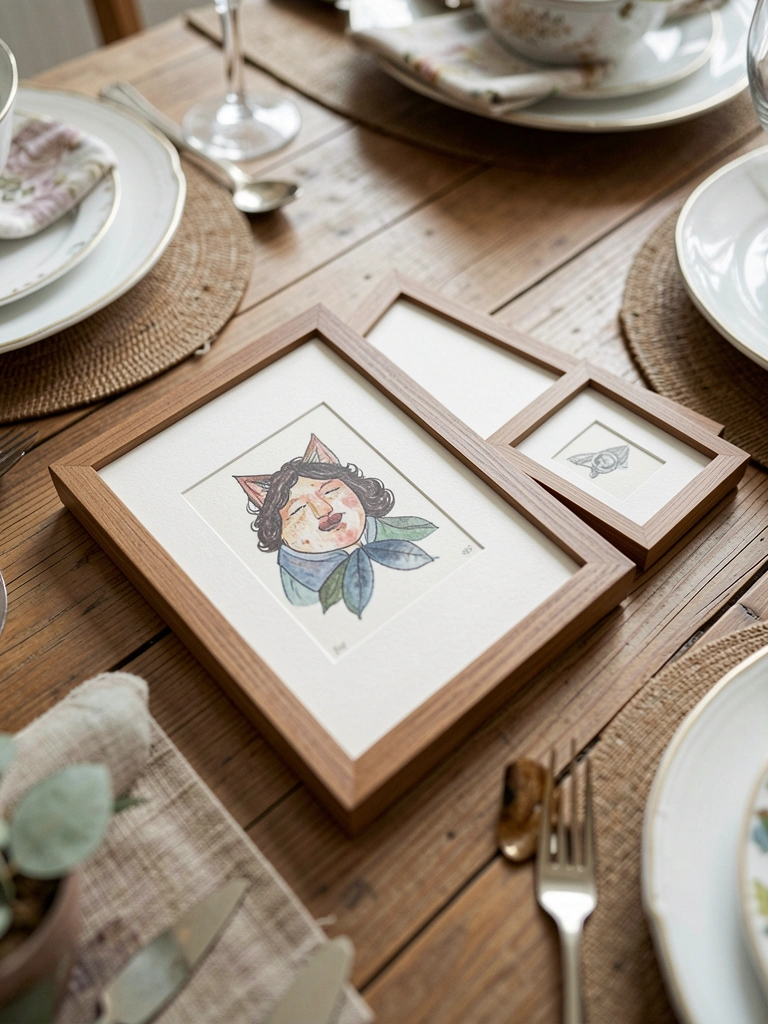
I grab frames no wider than the table—8×10 inches max for my setup. Neutral tones blend with chairs.
The room shifts. Colors echo without shouting. Insight: small art in groups looks fuller than one big piece.
Avoid bold colors. They close in the space. Stick to soft neutrals for airiness.
It feels balanced now, like the wall belongs.
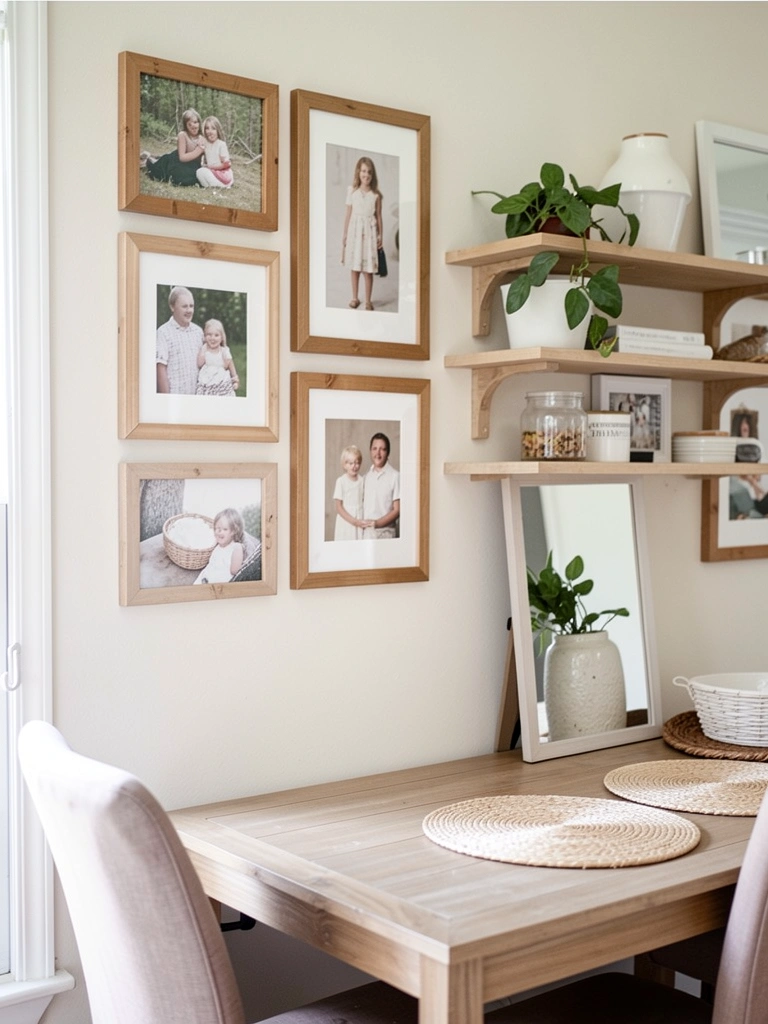
Step 3: Lay It Out on the Floor First
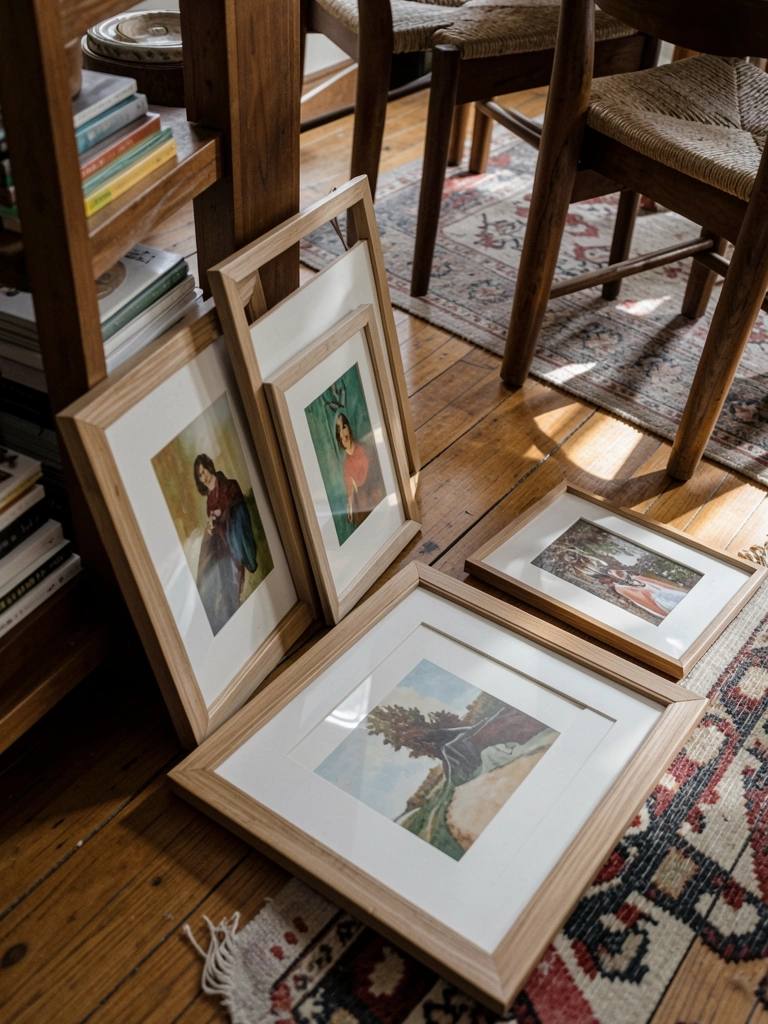
I spread pieces on the floor under the wall spot. Group in a loose triangle—two frames low, shelf above, mirror tucked in.
Visually, it maps flow. The table below ties in. Most miss testing heights this way; it saves holes.
Don't make it too tight. Leave 2-3 inches between pieces. That breathes life into small walls.
The layout clicks. It's right.
Step 4: Hang at Eye Level for Connection
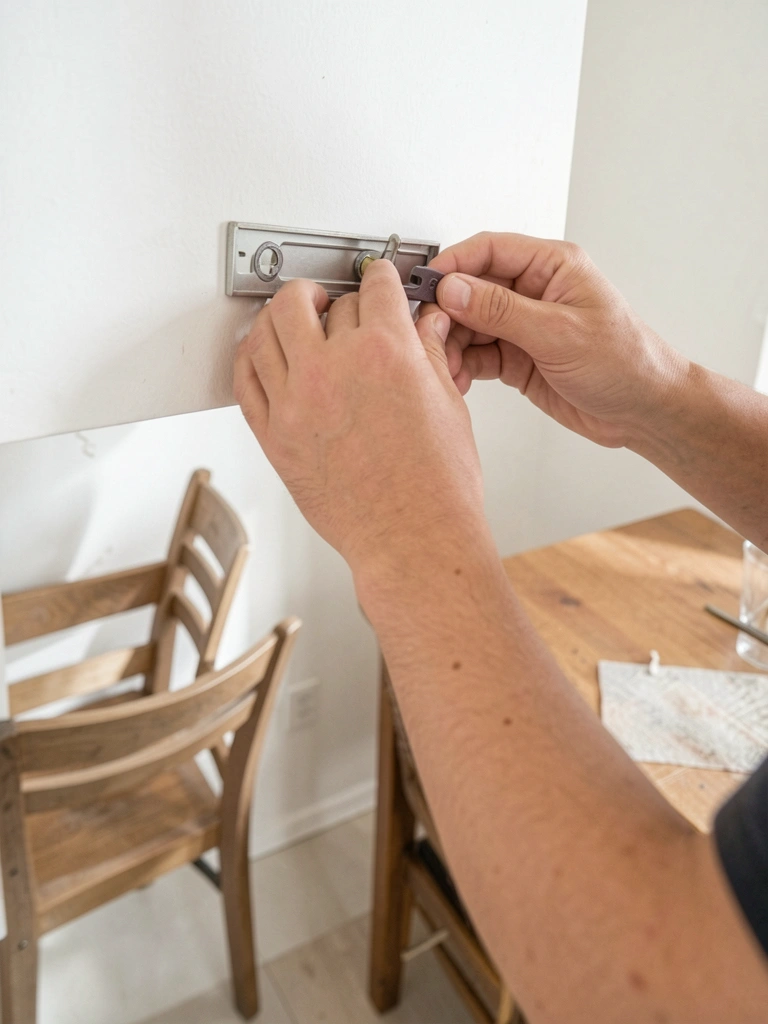
Center the group over the table. Hang lowest piece at eye level when seated—about 57 inches from floor.
The wall anchors meals now. It feels intentional. People overlook seated view; standing height looks off during dinner.
Skip perfect symmetry. Slight offsets add warmth. My wall settled comfortably.
Pull up a chair. Test it.
Step 5: Layer and Step Back to Adjust
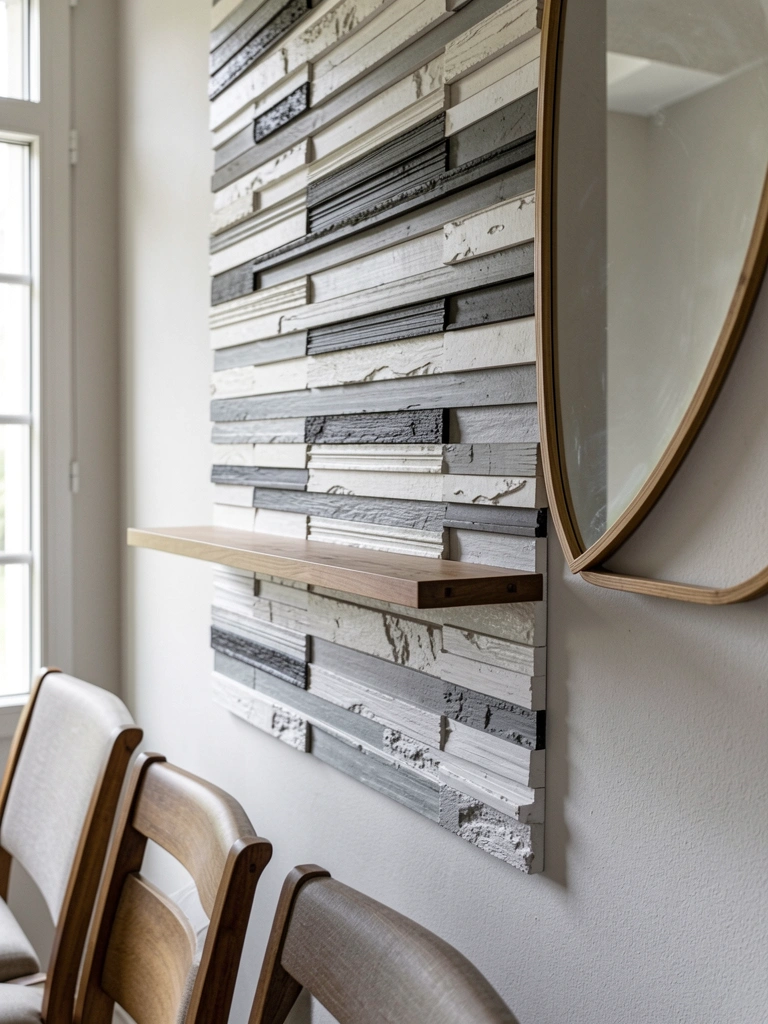
Add the shelf for depth, lean a print on it. Mirror reflects light. Stand across the room.
Layers make it lived-in, not flat. Insight: distance reveals crush—mine needed 1-inch lift.
Don't overfill. Empty spots keep it small-room friendly. Now it flows.
The room expanded.
Step 6: Live With It a Week
Sit at meals. Notice glare or gaps. I swapped one print after three days.
It settles into daily rhythm. Most rush this; time shows true balance.
Avoid final tweaks too soon. Let it feel comfortable first.
Now it's home.
Why Scale Matters in Small Dining Rooms
Small rooms punish oversized art. I learned that when a 16×20 frame ate my wall.
Keep pieces under 10 inches wide. Groups of three to five work best.
- Eye level: 57 inches from floor, seated view.
- Gap rule: 2-4 inches between items.
- Tone match: Wall and table colors guide picks.
It opens the space without trying.
Balancing Wall Art with Table Flow
Your table sets the rhythm. Art above should echo it—linen mats call for soft prints.
I align centers. No overhang into chairs.
This keeps movement easy. Dinner feels calm, not crowded.
Lighting Wall Art Without Overkill
Natural light flatters most. I hung facing a window.
Add one lamp if dim. Avoid spots—they glare.
- Dimmers help evenings.
- Mirrors bounce light wider.
The wall glows gently all day.
Final Thoughts
Start with one frame if it scares you. Build from there.
You've got this—small changes stick.
My dining nook feels right now. Yours will too. Just place, live, adjust.